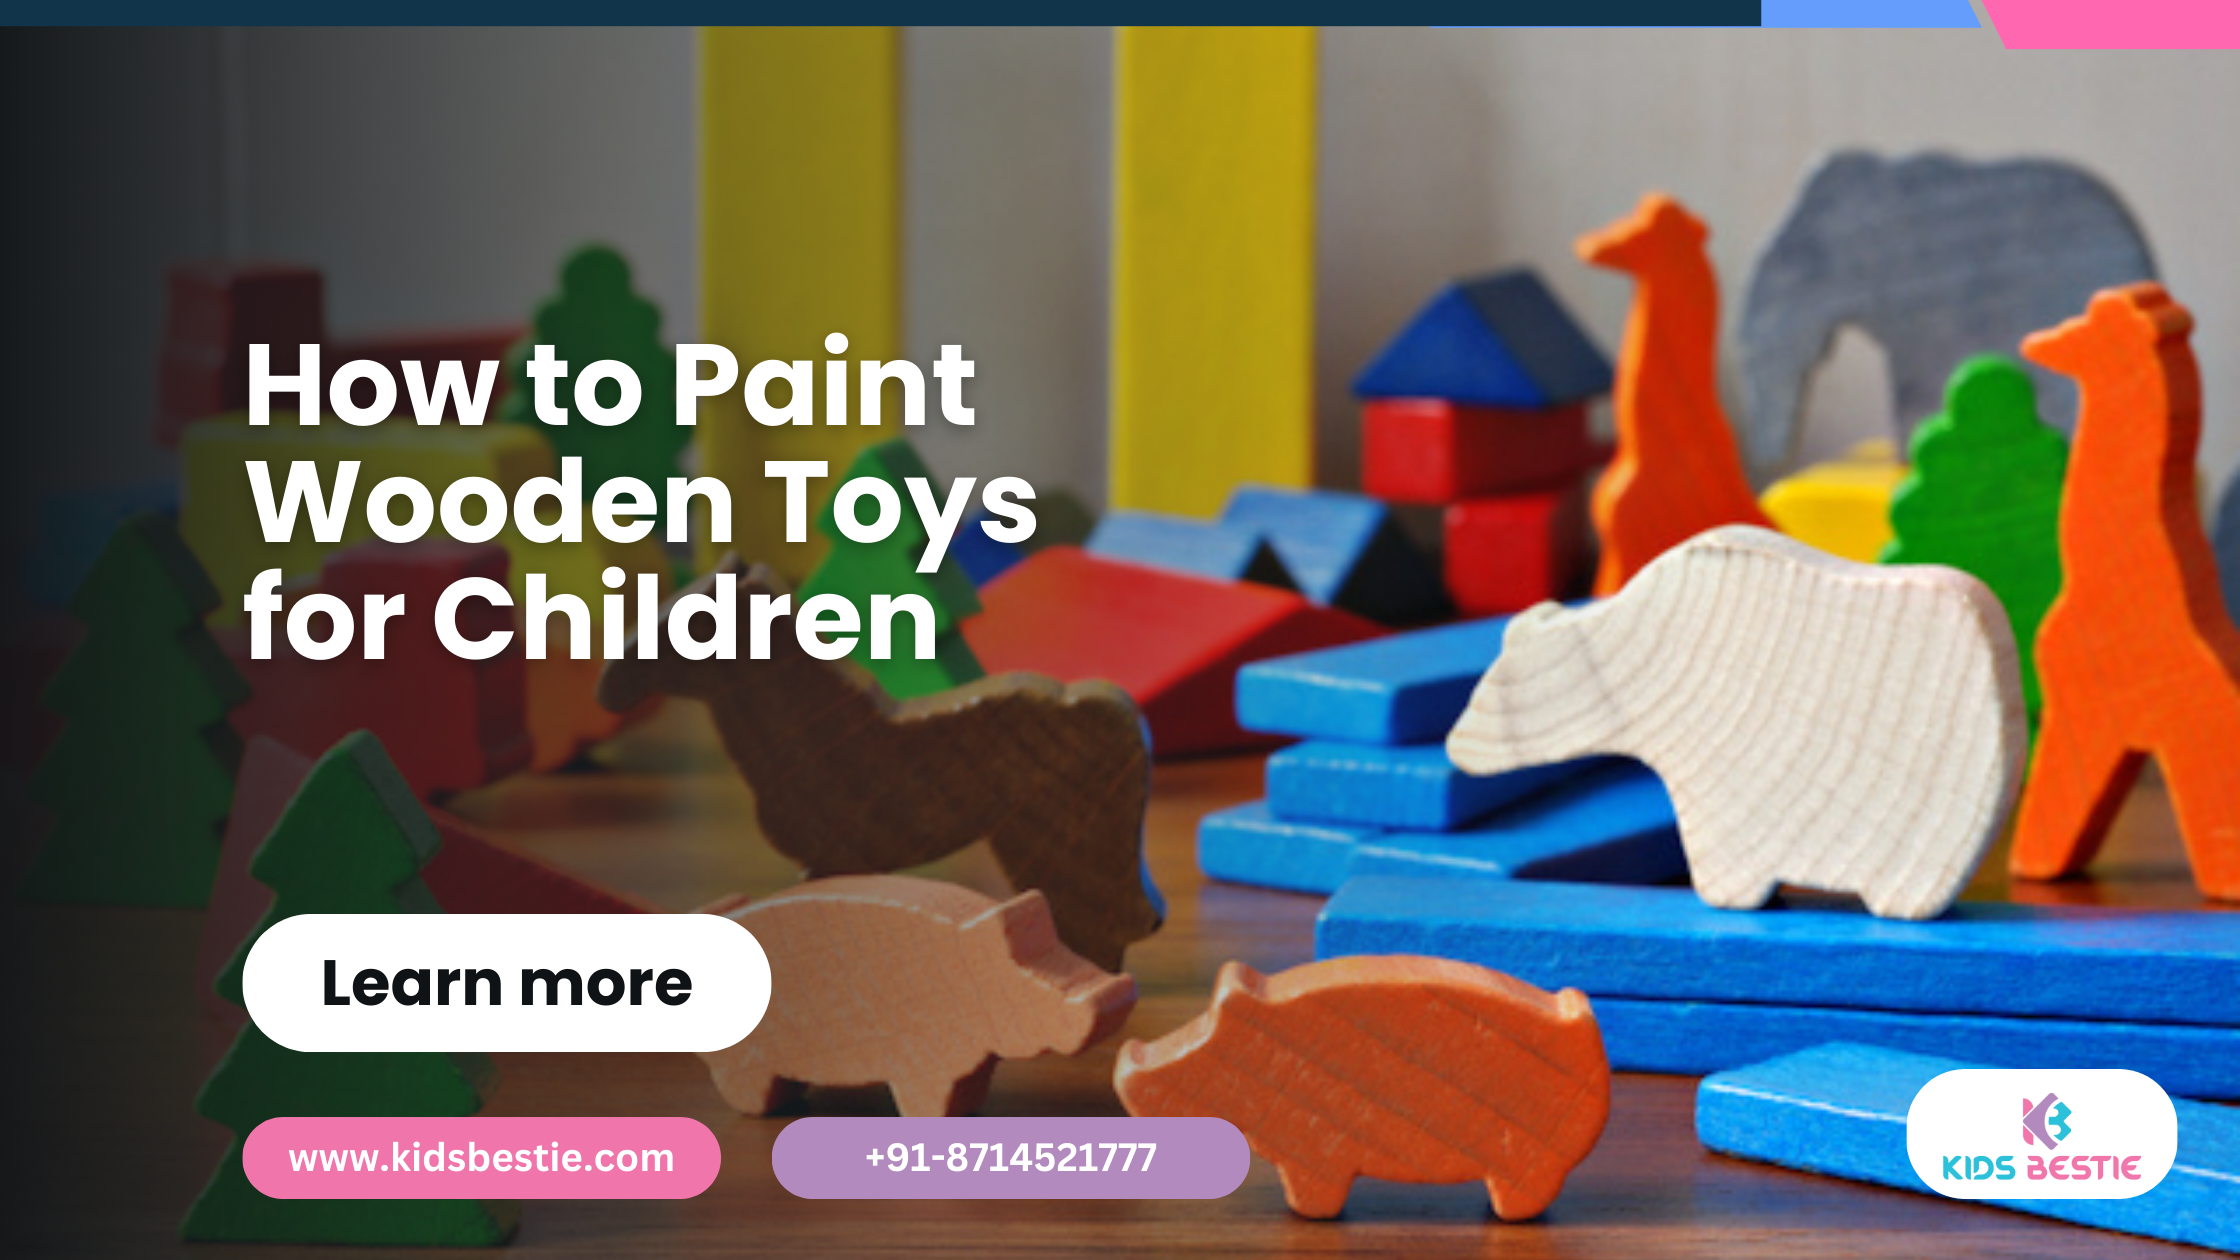
How to Paint Wooden Toys for Children
If you're wondering how to paint wooden toys properly, this guide will walk you through the step-by-step process, ensuring that the toys remain safe, beautiful, and long-lasting.
Wooden toys are a timeless favorite among children. They are durable, eco-friendly, and safe when painted with child-friendly materials. If you're wondering how to paint wooden toys properly, this guide will walk you through the step-by-step process, ensuring that the toys remain safe, beautiful, and long-lasting.
Why Paint Wooden Toys?
-
Personalization: Customize toys with your child's favorite colors and patterns.
-
Aesthetic Appeal: Enhances the overall look of wooden toys.
-
Protection: Prevents moisture damage and extends the toy’s lifespan.
-
Creativity Boost: Painting wooden toys can be a fun activity for both kids and parents.
Choosing the Right Paint for Wooden Toys
Safety is a top priority when painting children's toys. Here are the best options:
1. Non-Toxic Paints
-
Look for water-based, non-toxic paints labeled “child-safe” or “EN71-3 certified”.
-
Brands like Natural Earth Paint, BioShield, or Milk Paint are good options.
2. Acrylic Paints
-
Non-toxic acrylic paints work well but must be sealed with a food-safe sealant.
3. Milk Paint
-
A natural, biodegradable paint that gives a beautiful matte finish.
4. Natural Dyes
-
Made from plants, fruits, and vegetables, these dyes are a safer alternative.
Step-by-Step Guide to Painting Wooden Toys
Step 1: Prepare the Wooden Surface
-
Sand the wood: Use fine-grit sandpaper (180-220 grit) to smooth the surface.
-
Wipe the dust: Clean with a dry cloth to remove dust particles.
-
Prime (Optional): Apply a natural primer to help the paint adhere better.
Step 2: Select and Apply Paint
-
Choose a child-safe paint.
-
Apply thin coats using a soft brush or sponge.
-
Let each coat dry before applying the next one (usually 1-2 hours between coats).
Step 3: Add Designs and Patterns
-
Use stencils or freehand to create fun patterns.
-
You can also use wood stamps or decals for added creativity.
Step 4: Seal the Paint for Durability
-
Use a non-toxic, food-safe sealant like beeswax, shellac, or linseed oil.
-
Apply two coats for extra protection.
-
Let the toy dry for at least 24 hours before use.
How to Maintain Painted Wooden Toys
-
Avoid soaking in water – wipe clean with a damp cloth.
-
Keep away from direct sunlight to prevent fading.
-
Reapply sealant every few months to maintain durability.
Safety Tips for Painting Wooden Toys
-
Always use non-toxic, child-safe paints and finishes.
-
Ensure the paint is fully dry and cured before giving it to children.
-
Avoid using harsh chemicals or synthetic varnishes.
DIY Ideas for Painting Wooden Toys
-
Rainbow Blocks: Paint wooden blocks in bright colors.
-
Animal Figures: Use stencils to create cute animal shapes.
-
Name Puzzle: Personalize a wooden name puzzle for your child.
-
Vintage Look: Use soft pastel colors for a vintage feel.
FAQs
Q1: What is the safest paint for wooden toys? A: The safest options are non-toxic, water-based paints that are EN71-3 certified or made from natural ingredients like milk paint.
Q2: How long does it take for the paint to dry? A: Most water-based paints dry within 1-2 hours per coat, but it’s best to wait 24 hours before use.
Q3: Do I need to apply a sealant? A: Yes, a non-toxic, food-safe sealant protects the paint and ensures durability.
Q4: Can kids help in painting wooden toys? A: Yes! Just ensure they use child-safe paints and wear aprons to avoid stains.
Q5: How do I clean painted wooden toys? A: Wipe them with a damp cloth and avoid soaking them in water.
Conclusion
Painting wooden toys is a fun, creative, and rewarding activity. By using the right paints, techniques, and safety measures, you can create beautifully customized toys that are safe for your little ones to enjoy!


